Initialize analyses#
–> After defining analyses you must initialize them
After the machine learning parameters have been defined in the parameter template then you have to initialize them for further analysis using the initialization manager. If analyses in the parameter template are changed, you must also re-initialise them using this menu. You can initialize and change as many analyses as you like.
When an analysis is first initialized, a directory will be created containing details and parameters of the analysis in a log file (see below). During processing, NeuroMiner will store analysis files in this location for this analysis. These data reporting features allow you to keep track of analyses and provide a standardized NeuroMiner output format.
Within NeuroMiner you can initialize one analysis, then change settings in the parameter template, and then initialize another analysis. This has two implications:
the results from different analyses can be compared;
with the results of different classifiers, you can use the advanced feature called stacked generalization.
Important
It is important to note that simply changing settings in the parameter template does not have any effect on analyses until you initialize the analyses using this menu. If you want to change the settings of an analysis then change them in the parameter template and then reset the initialized analyses using the directions below.
The initialization menu can be split into two parts:
when no other analysis is present (see first initialization below);
when there are existing analyses (see multiple analysis below).
First initialization#
The following menu will appear:
1 | Define analysis identifier [ ? ]
2 | Provide analysis description [ ? ]
3 | Specify parent directory of the analysis [ ? ]
PROCEED >>>
Define analysis identifier
Provide a brief description of the analysis; e.g., SVM analysis1. This will be used as an analysis ID and also used as an identifier for the analysis-specific directory created by NeuroMiner.
Provide analysis description
Here you can write a more extended analysis description; e.g., ”this is a test analysis that was created using the default settings of NeuroMiner”. You can enter multiple lines if you would like and then enter a single period (i.e., ”.”) to stop the process and enter the data.
Specify parent directory of the analysis
This will activate a menu selector where you can specify a parent directory for the analysis folder to be stored.
PROCEED >>> This will activate the above settings.
Multiple analyses#
If an analysis is already initialized, then entering the initialization menu will show the following:
1 | Generate new or manage existing analyses [ generate new: analysis 2 ]
2 | Define analysis identifier [ ? ]
3 | Provide analysis description [ ? ]
4 | Specify parent directory of the analysis [ ? ]
5 | PROCEED >>>
NeuroMiner defaults to generating a new analysis (option 1), and new data for the aforementioned fields can be entered that were described above. Once this is completed, a new analysis directory will be established and you can proceed as normal. However, when there are multiple analyses, there is also the possibility of managing the existing analyses by selecting the first option, then selecting ”manage existing”, which will show the following menu:
1 | Select existing analysis [ Analysis 1 ]
2 | Specify what to do with selected analysis [ complete reset ]
3 | Define analysis identifier [ test1 ]
4 | Provide analysis description [ provided ]
6 | Specify parent directory of the analysis [ ]
7 | PROCEED >>>
The second option will allow you to select the analysis. If there are two or more analyses, then it will activate a ”Select Analysis Menu” where you can specify the analysis you want to manage. If you type ‘M’, you will get more detailed information regarding the initialized analyses.
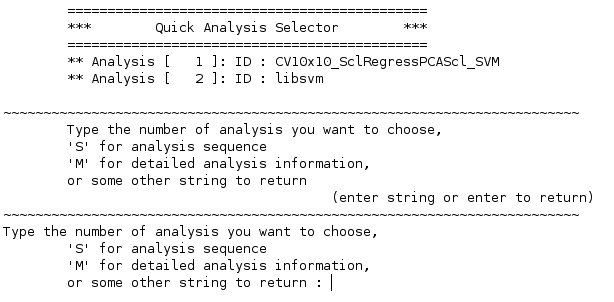
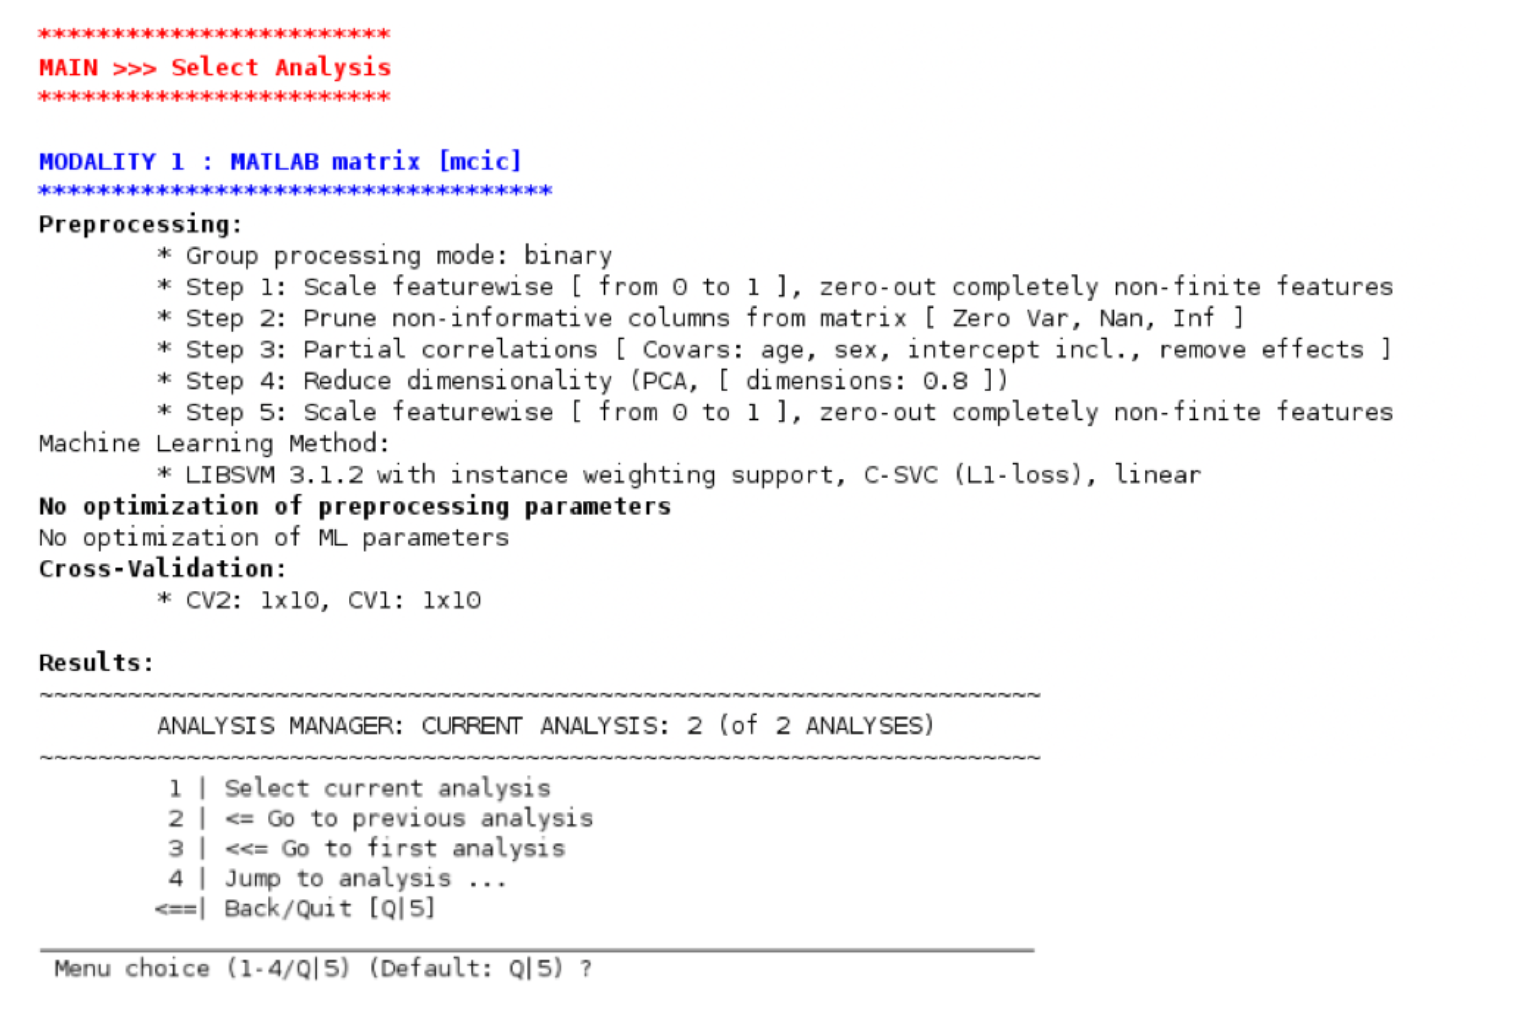
This menu will give the user the ability to view what has been initialized and to navigate through the analyses and choose the right one.
Once an analysis has been selected, the user will be returned to the main menu and can then modify the analysis by selecting the third option to ”Specify what to do with the analysis”:
1 | delete
2 | delete and wipe from computer
3 | completely reset
4 | reset parameters (risk of inconsistency)
5 | update paths and descriptors
6 | overwrite current NM parameter template with analysis workspace
Here the user can select the option to delete the analysis, to completely reset and overwrite all the parameter settings with the new settings in the parameter template, or to reset parameters. Once an option is selected, you’ll be taken back to the main analysis manager and you will need to PROCEED >>>> for the options to take effect.
Outputs and directory structure#
Once an analysis has been initialized, a folder will be created like the following:NM ID736740_54131 A1_your-description.
This outlines the NM identifier associated with the entered data (e.g., ID736740_54131), the analysis that has been initialized (e.g., A1), and the description that you entered in the ”Define analysis identifier”.
Within the folder there is a ”params” subfolder and also a log file (e.g., NM_Analysis test1.log). The log file contains an ”NM ANALYSIS LOG FILE” with a description of the computer and the versions of MATLAB and NeuroMiner, in addition to a description of all the analysis parameters that were conducted. The params subfolder has these details and more specific settings stored in a .mat file containing MATLAB structures that are used by NeuroMiner.
Following initialization, you can then go to the main menu and preprocess or train the
Once an analysis has been initialized#
Once an analysis has been initialized, you can preprocess the features and train the models. The files will be stored in the directory you specified in this menu for that analysis.